
How to Germinate Seeds: A Friendly Guide for Every Gardener
Learning how to germinate seeds is the first real win of any garden, and it’s easier than you might expect. Give your seeds water, warmth, and air, and they’ll handle the rest.
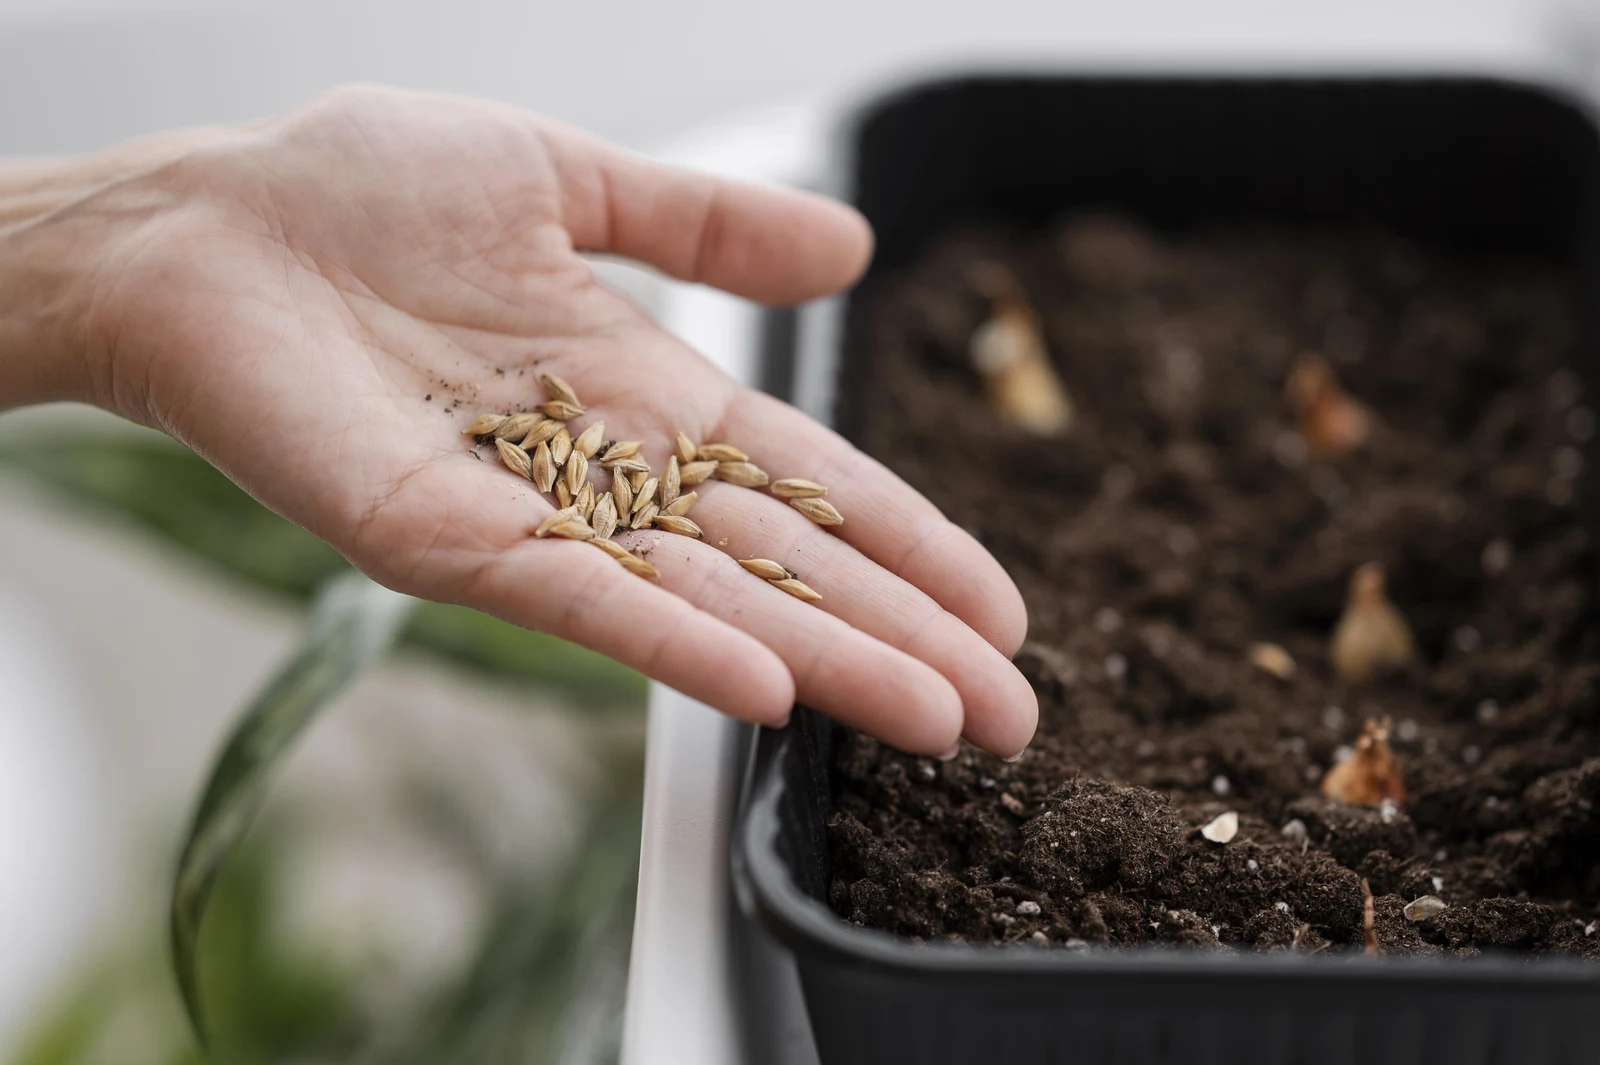
Why Learning How to Germinate Seeds Pays Off
Every seed is a tiny plant on pause, packed with enough stored food to fuel its first roots and leaves. Your job is simply to tell it the time is right.
When you start seeds yourself, you get access to hundreds of varieties that garden centers never stock. You also save money, since one packet often costs less than a single nursery seedling.
Germination also gives you control over timing. You can start tomatoes indoors in late winter and have sturdy plants ready the day your frost danger passes.
Best of all, the skills carry over to almost every plant you’ll ever grow. Once you understand what triggers a sprout, you can troubleshoot slow seeds instead of guessing.
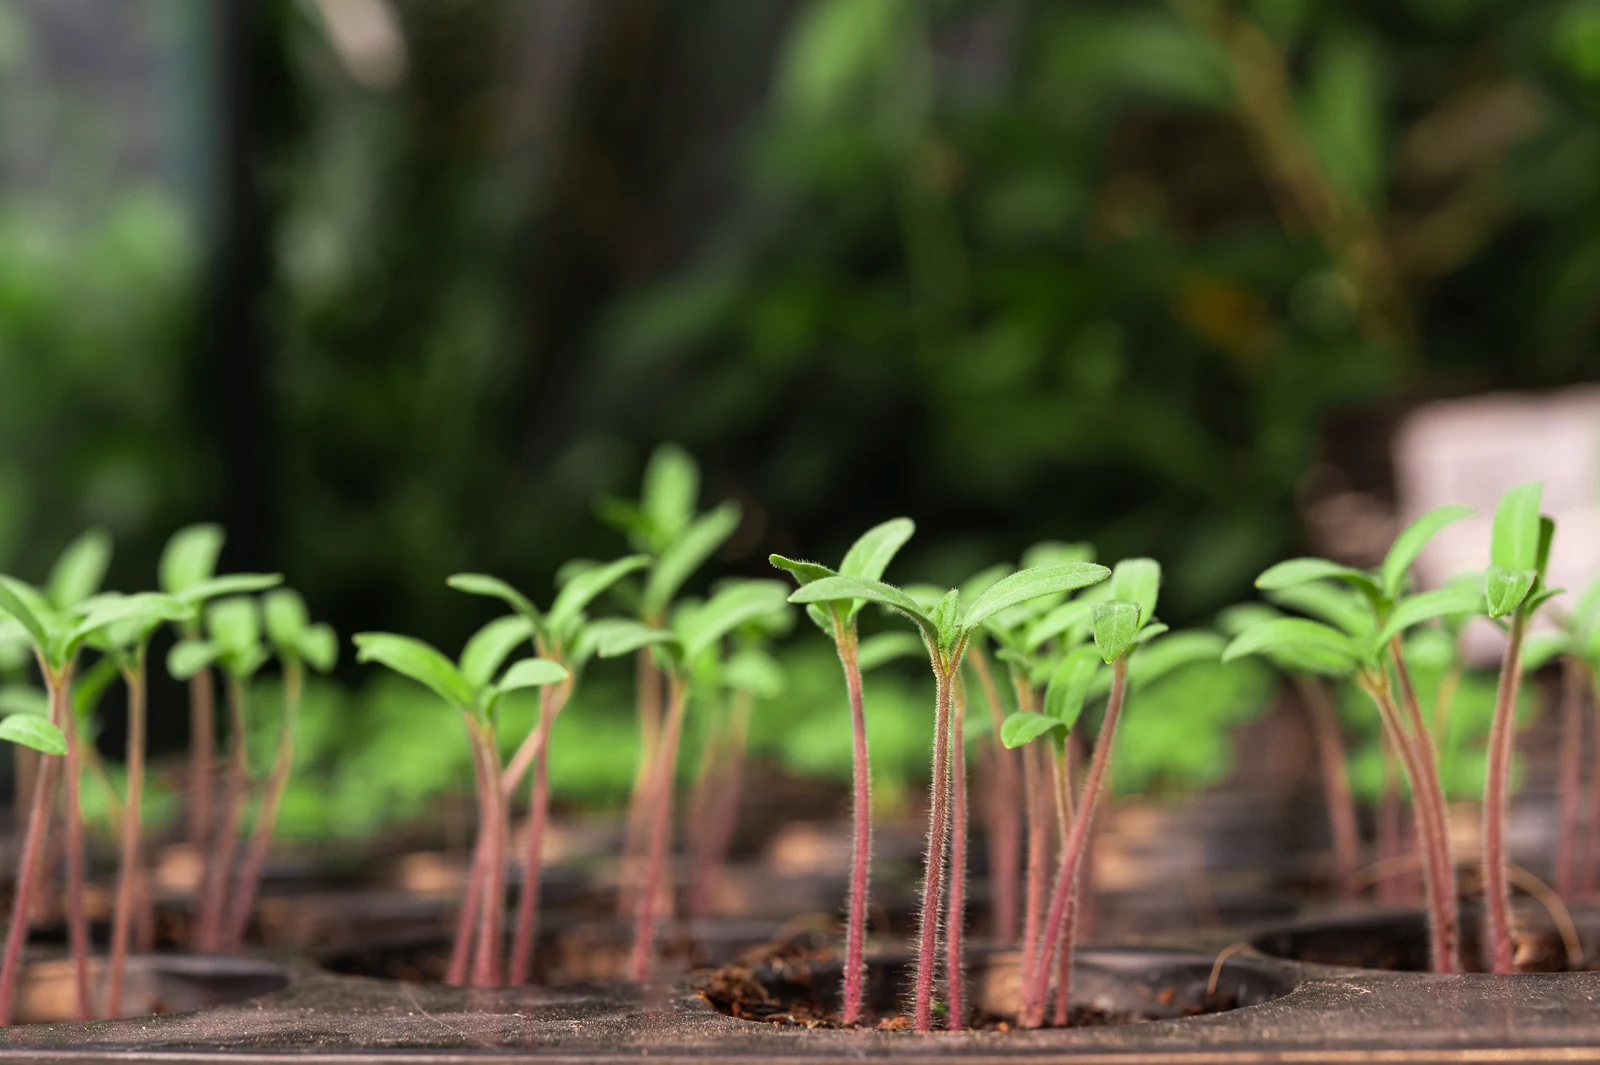
The Four Things Every Seed Needs to Sprout
Seeds wake up when their surroundings match the conditions they evolved for. Get these four basics right and most failures disappear.
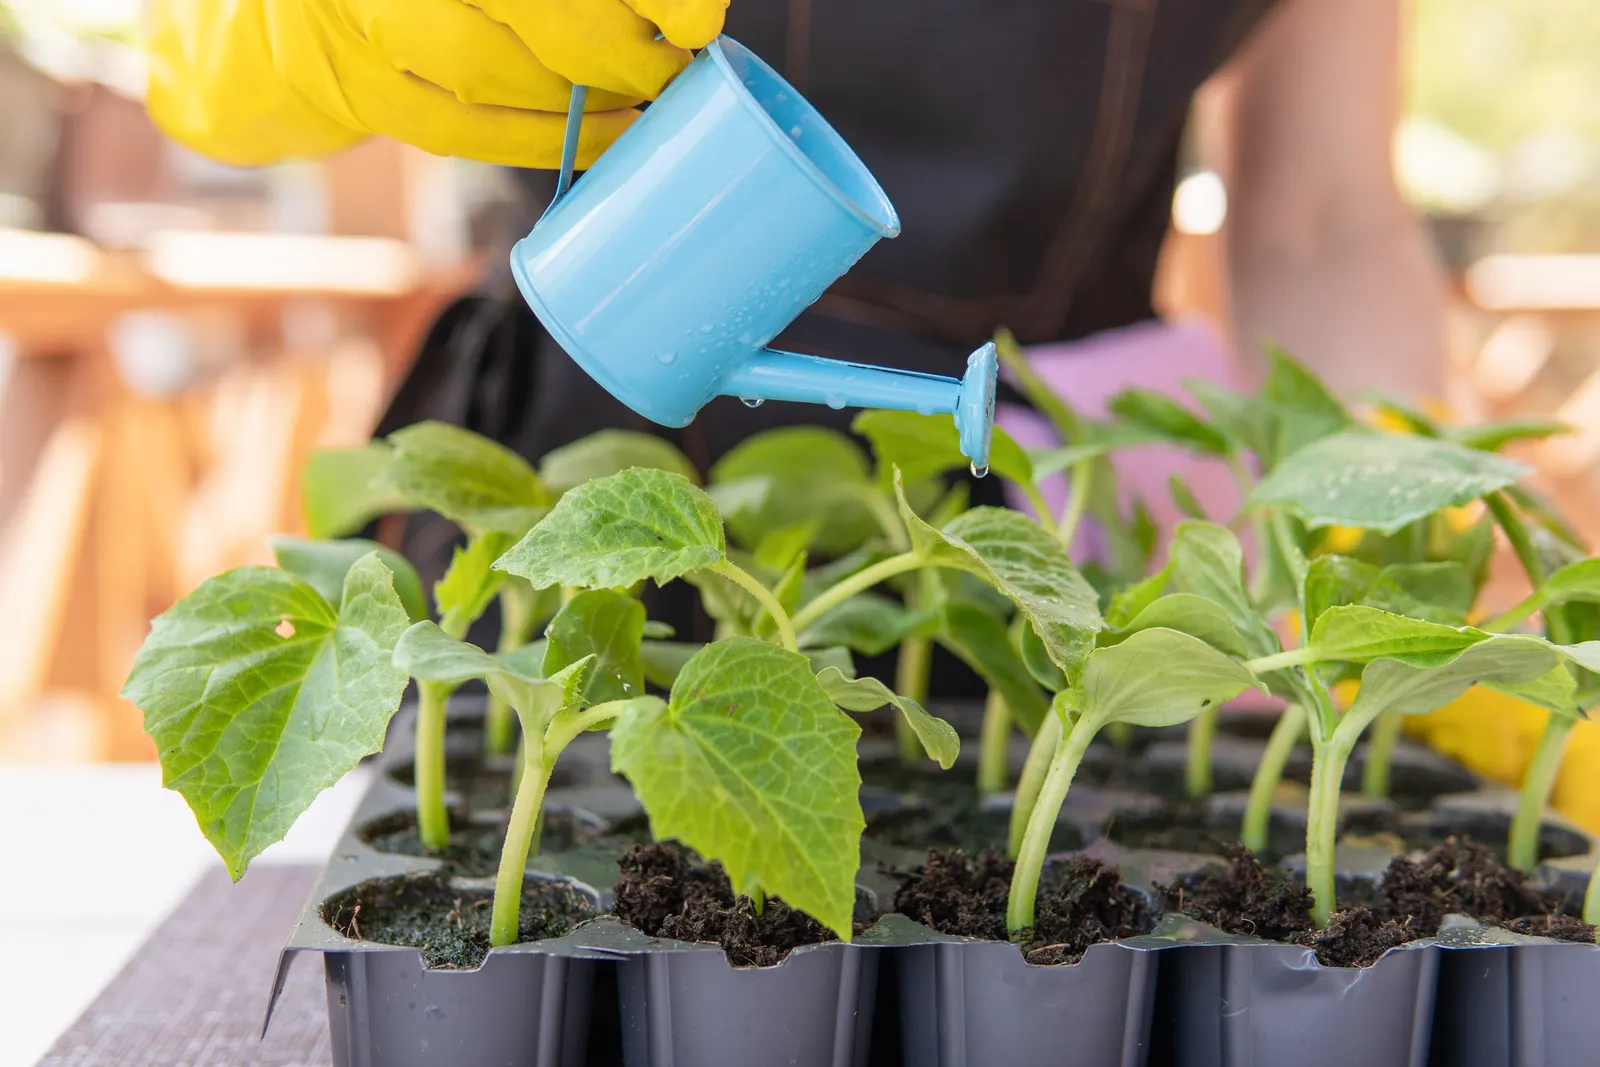
Consistent Moisture
Water softens the seed coat and switches on the enzymes that start growth. Keep your mix as damp as a wrung-out sponge, never soggy, because standing water drowns young roots.
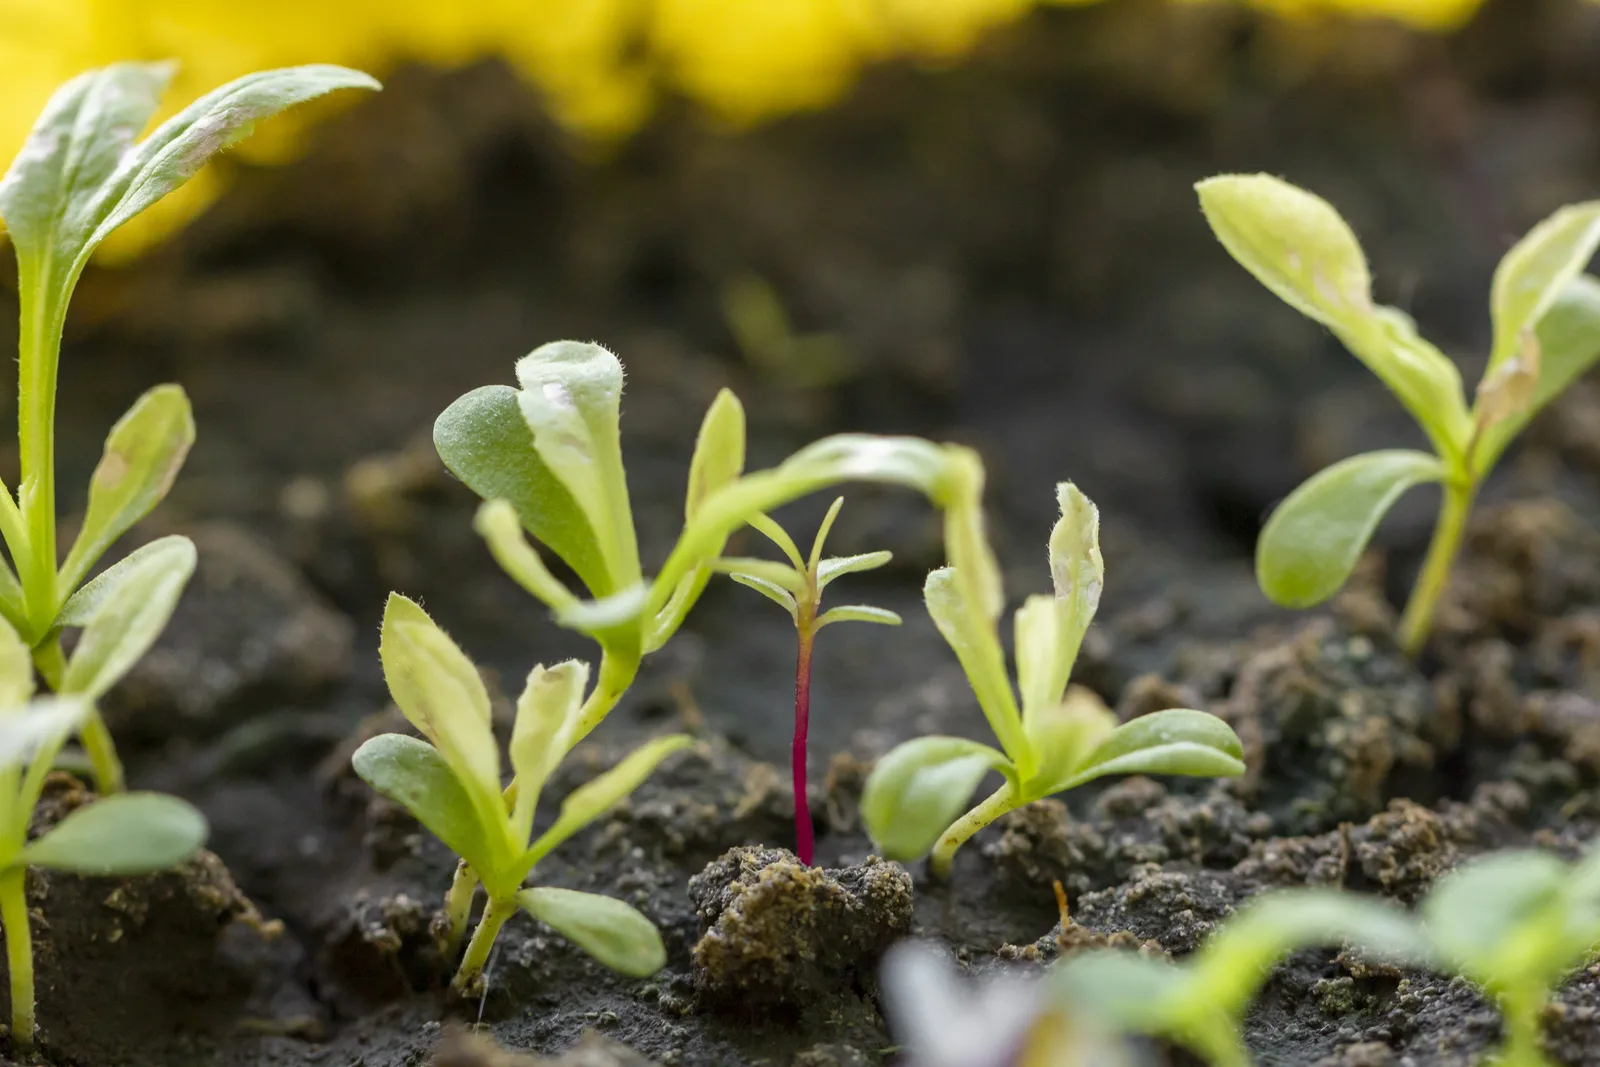
Steady Warmth
Most vegetable and flower seeds sprout fastest between 65°F and 75°F (18°C to 24°C). A seedling heat mat under your tray can cut germination time by days, especially for peppers and tomatoes.
Fresh Air
Seeds breathe as they grow, so they need oxygen around them. A light, fluffy seed starting mix gives you that airflow, while heavy garden soil packs down and suffocates them.
The Right Amount of Light
Some seeds, like lettuce, snapdragons, and petunias, need light to germinate and should sit right on the surface. Others prefer darkness, so always check your packet before you cover them.
Starting Seeds Indoors, Step by Step
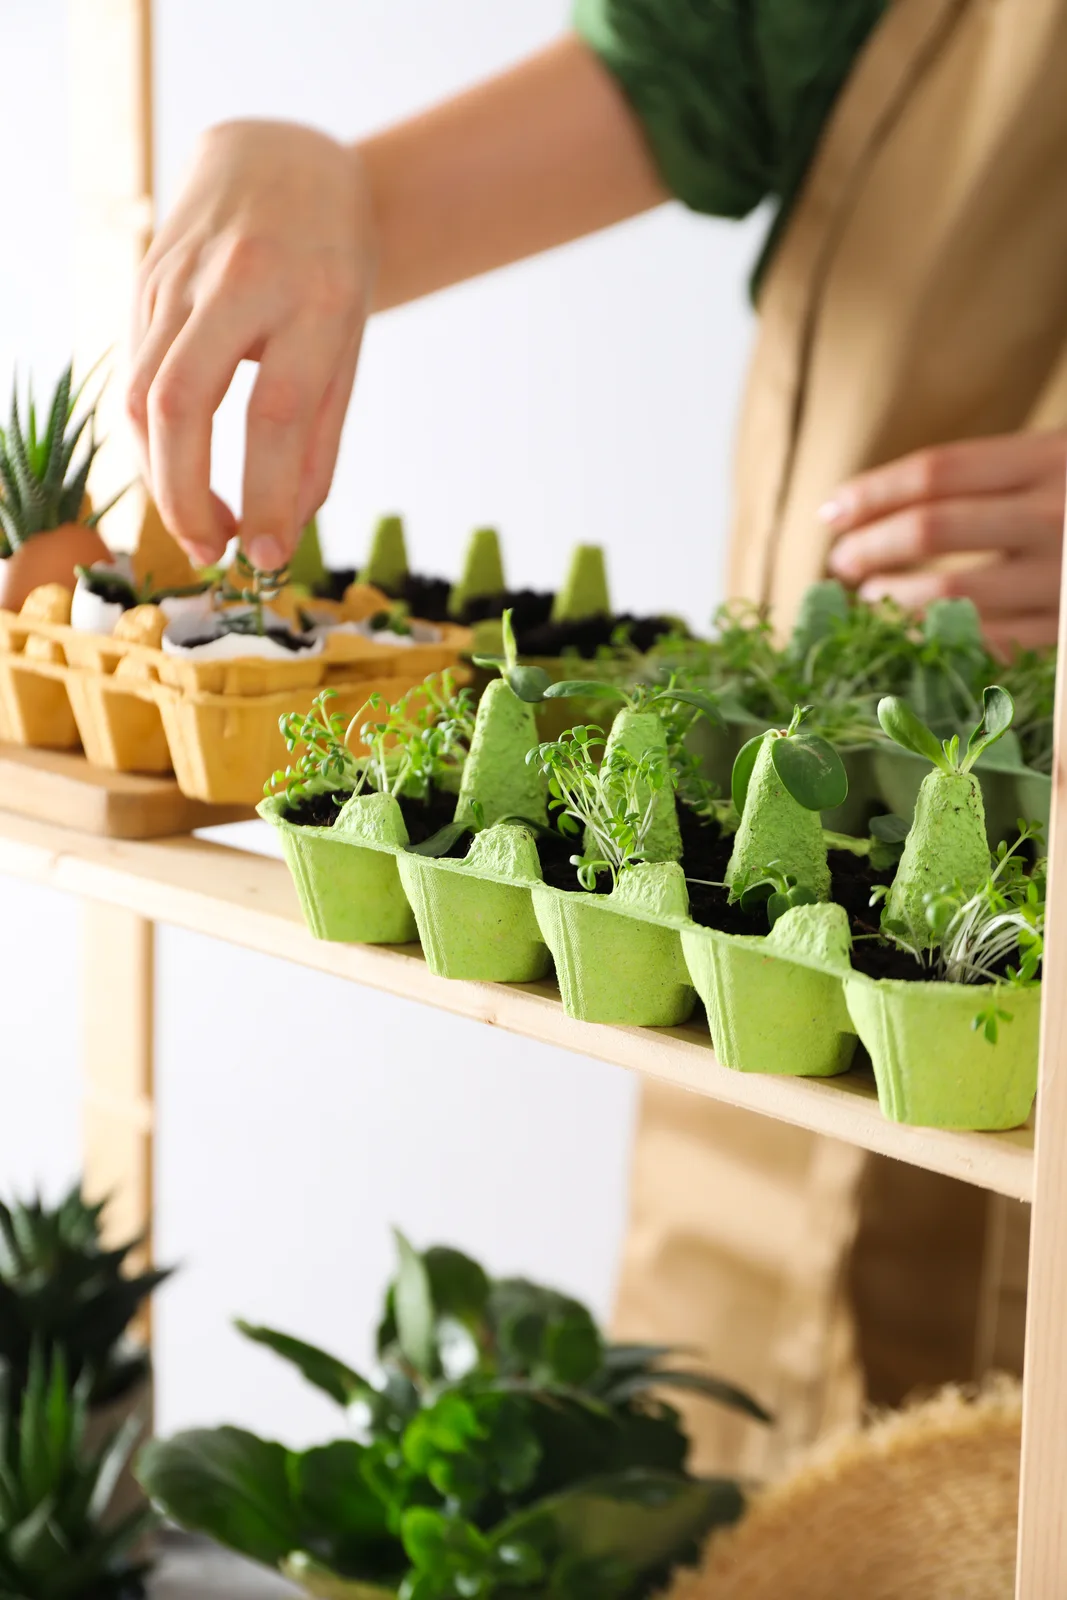
If you want to master how to germinate seeds, indoor trays are the easiest place to practice. They also protect tender sprouts from cold snaps and hungry birds.
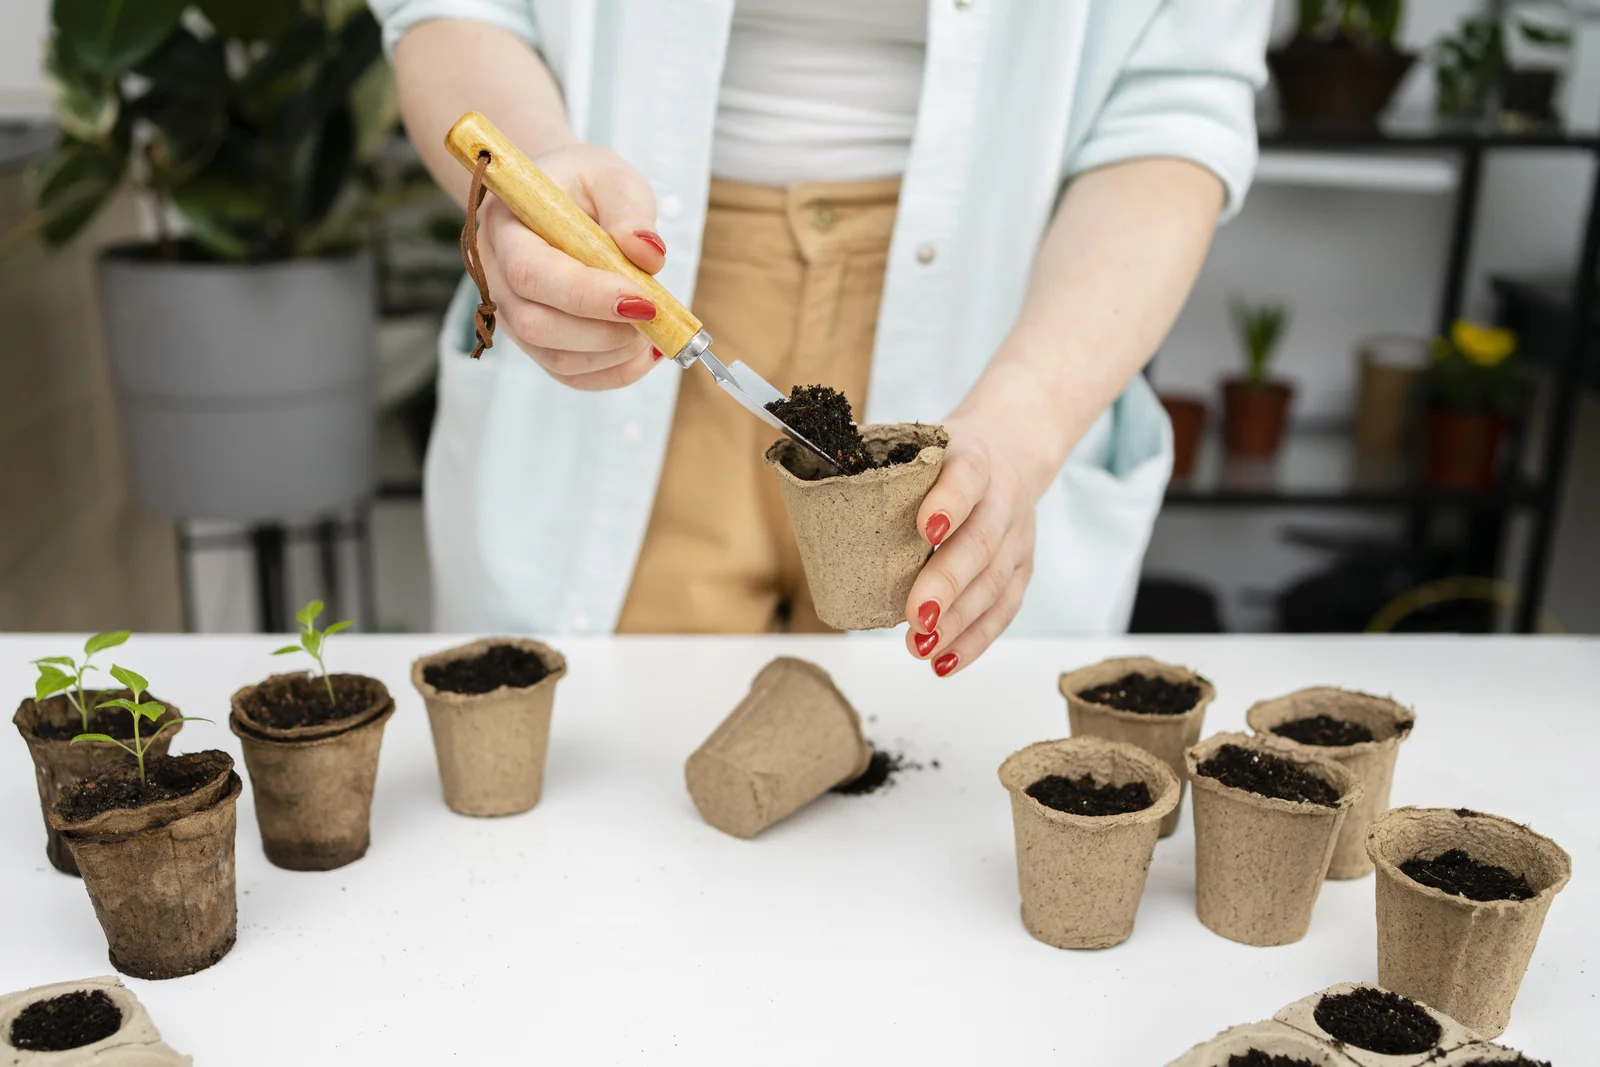
Fill clean trays or small pots with a sterile seed starting mix and moisten it before sowing. Plant each seed about two to three times as deep as it is wide.
Cover the tray with a clear dome or plastic wrap to hold in humidity, then set it somewhere warm. Check daily, and remove the cover as soon as you spot green.
Try the Paper Towel Method
If you’re unsure whether old seeds are still good, fold ten of them inside a damp paper towel and seal it in a plastic bag. Count how many sprout within a week to see your germination rate before you commit a whole tray.
Give Seedlings Light Right Away
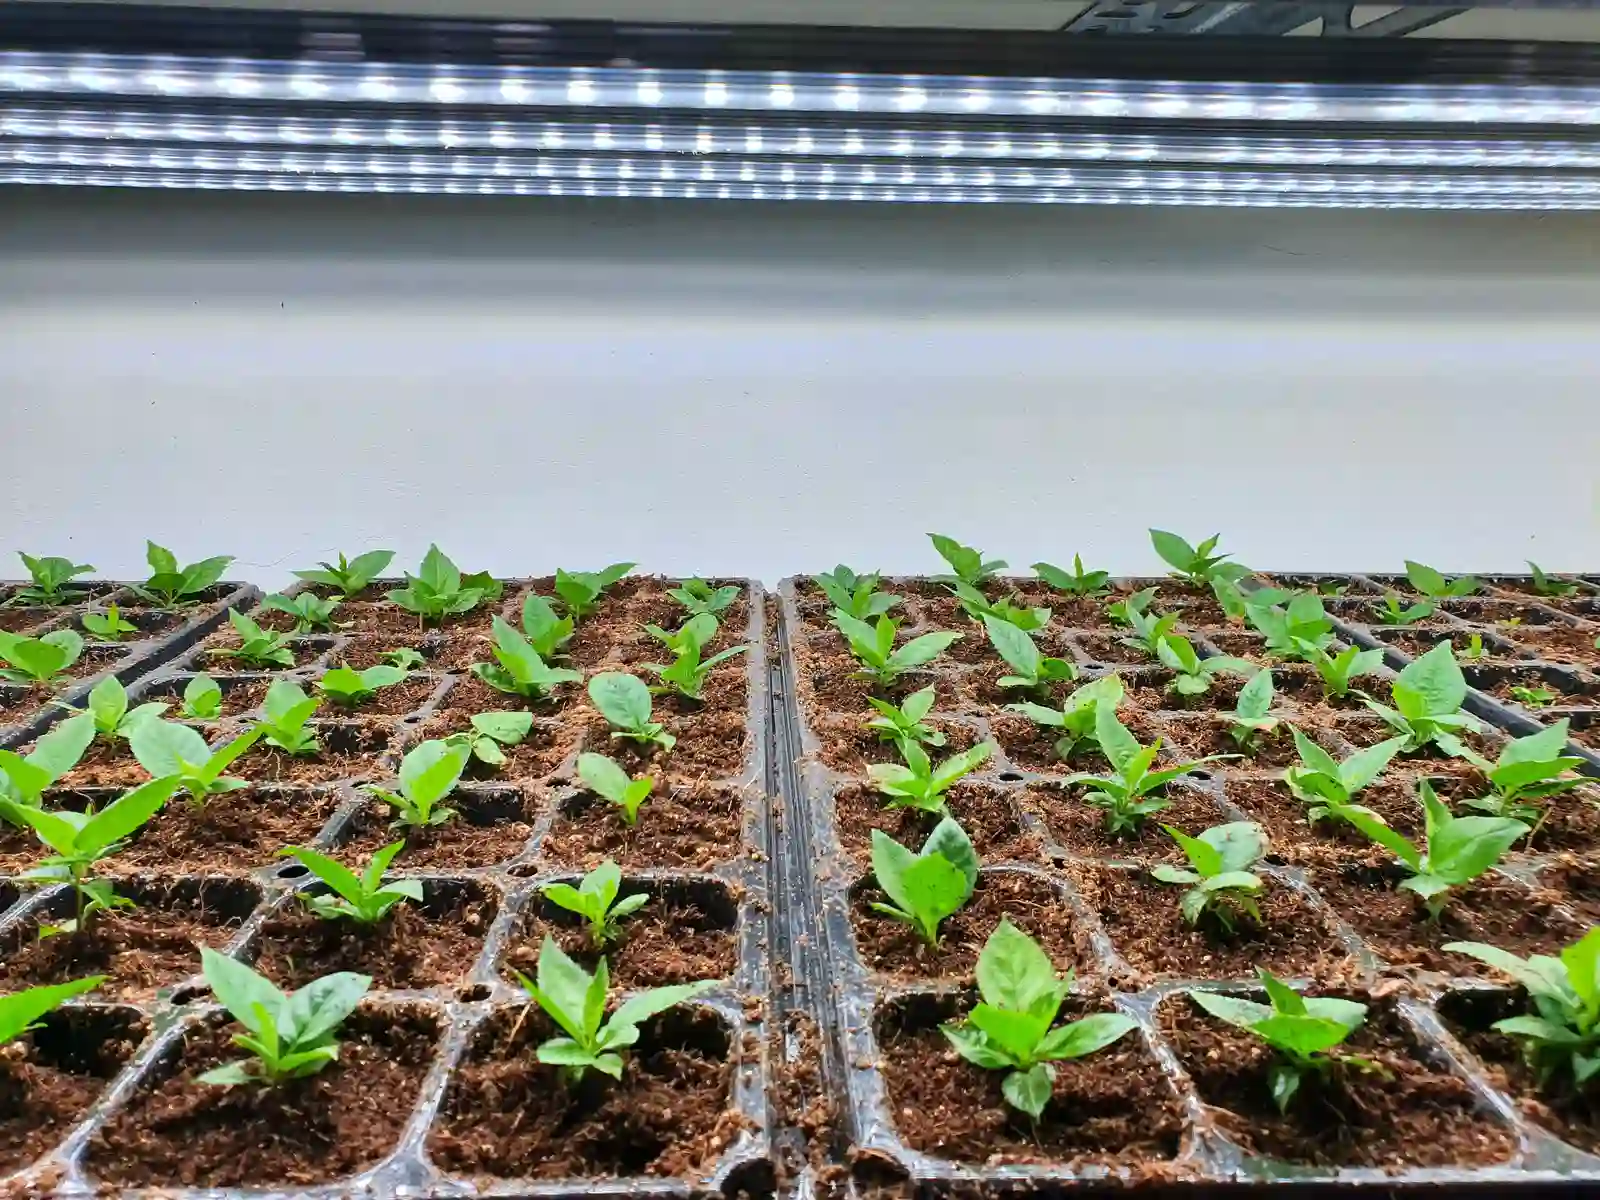
Once sprouts appear, they need 12 to 16 hours of bright light every day to grow strong. Hang a grow light 2 to 4 inches above the leaves, since a sunny windowsill alone usually leaves seedlings tall and floppy.
Soak Hard-Coated Seeds
Large seeds with tough shells, such as beans, peas, morning glories, and sweet peas, sprout faster after soaking in room-temperature water for 8 to 12 hours. Don’t soak them longer than 24 hours, or they may start to rot.
Nick Tough Seed Coats
Scarification simply means scratching the seed coat so water can get inside. Rub seeds gently with sandpaper or nick them with nail clippers, staying away from the small scar where the root emerges.
Chill Seeds That Need a Winter
Many perennials and native wildflowers, including milkweed, coneflower, and lavender, need a cold period before they’ll sprout. Mix them with damp sand in a sealed bag and refrigerate them for 4 to 6 weeks to mimic winter.
Common Mistakes When You Germinate Seeds
Even experienced gardeners lose a tray now and then. Here’s how to fix the problems that trip up beginners most often.
Seeds Never Sprout
Cold soil and old seed are the usual culprits. Check your packet date, test a few seeds with the paper towel method, and add bottom heat if your room runs cool.
Seedlings Collapse at the Soil Line
This is damping off, a fungal disease that thrives in wet, stagnant conditions. Use fresh sterile mix, water from below, and run a small fan nearby to keep air moving.
Mold Grows on the Surface
White fuzz on top of the mix means too much moisture and too little airflow. Lift the dome, let the surface dry slightly, and top the mix with a thin layer of vermiculite if it returns.
Seedlings Grow Tall and Spindly
Leggy stems mean your plants are stretching for light. Move your grow light closer and leave it on longer each day.
Seeds Rot Before They Emerge
Rotting usually comes from soggy mix or planting too deep. Let the surface dry slightly between waterings and stick to the two-to-three-times-depth rule.
Knowing When to Move Seedlings Outdoors
Wait until your seedlings have at least two sets of true leaves and your last frost date has passed. Harden them off over 7 to 10 days, then plant them out and enjoy the payoff of knowing how to germinate seeds the right way.